Inserting a Box
Use graphical boxes to contain or highlight parts of your report text. The JADE Report Writer Designer application enables you to draw boxes of various sizes and colors.
To insert a box
-
Drag the Box field from the Catalog of Available Fields dialog to your layout. For details about using the drag and drop feature, see "Inserting Report Fields", earlier in this section.
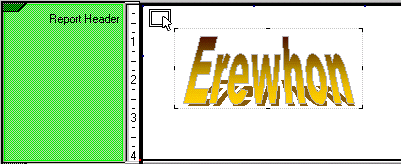
A small rectangular marker is attached to the cursor, marking the point at which you dropped the field, as shown in the following image in which the pointer has been placed at the top left of the Erewhon logo.

-
Move the cursor (that is, move the mouse without clicking the mouse button) to finalize the position of the start of your box.
-
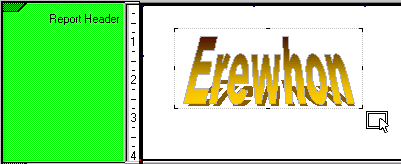
Click and hold down the mouse button and then drag the cursor to the farthest point of your box; that is, to the opposite corner. The following image shows the cursor at the end-point for drawing a box around the logo before you release the mouse button.

-
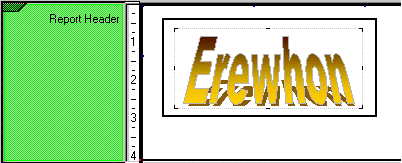
Release the mouse button at this point. The box is then displayed in the place that you marked, as shown in the following image.

You can draw boxes across multiple sections, if required.
To change the line width of the box
-
Place the cursor anywhere on the perimeter line of the box and then right-click.
-
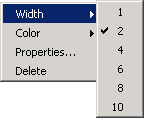
Select the Width command on the popup menu that is then displayed.
A popup submenu is then displayed, providing the line width options shown in the following image.

The width sizes are in pixel units. The default value is 2 pixels.
The check mark symbol (✓) is displayed at the left of the line-width size that is currently selected.
-
Select another line width from the list of sizes.
The box is then redrawn with your selected line width.
To change the size of the box
-
Select the box that you want to resize; that is, click on any part of the line of the box.
-
Place the cursor on any of the resizing handles (that is, the black dots in the middle of each side and in each corner of the box).
-
Drag the cursor in the direction in which you want to extend the box.
-
Release the mouse button to complete the resize operation.
You can also use the Ctrl+arrow keys to change the size of a box from the right or bottom margin by one pixel in the direction indicated by the arrow each time the key is pressed. Select the box whose size you want to expand or shrink, hold down the Ctrl key, and then use one of the following.
-
Right arrow key (→), to expand from the right
-
Left arrow key (←), to reduce from the right
-
Up arrow key (↑), to expand the from the bottom
-
Down arrow key (↓), to reduce from the bottom
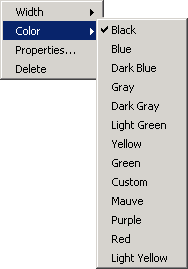
To change the color of the box
-
Place the cursor anywhere on the perimeter line of the box and then right-click.
-
Select the Color command on the popup menu that is then displayed.
A popup submenu is then displayed, providing the color options shown in the following image.

The check mark symbol (✓) is displayed at the left of the color that is currently selected. The default color is Black.
-
Select a color from the list of colors.
-
To apply a custom color that you have specified yourself, select the Custom command. The common Color dialog is displayed to enable you to select or define a custom color. When you have made your selection, click the OK button to apply the selected color or click the Cancel button to close the Color dialog without making any changes.
The box is then redrawn in your selected color. To apply a custom color that you have specified yourself, use the Box Properties dialog and specify a custom color using the Color combo box. For details, see "Specifying Box Properties", later in this section.

