Specifying Text for a Class
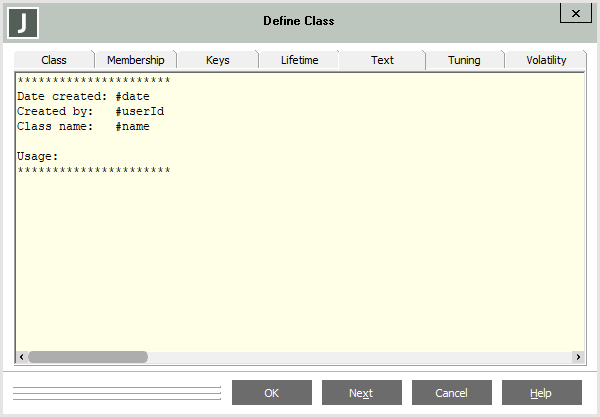
The Text sheet of the Define Class dialog, shown in the following image, is displayed when you select the Text sheet of the dialog.
To specify descriptive text for your class
-
In the editor pane, enter the descriptive text for your class. If you have defined a text template for your classes, this is displayed by default in the Text sheet. (For details, see "Maintaining Text Templates", in Chapter 2.)
You can also enter supplementary text, which is for display only, by selecting the Text command from the Classes menu. The Text command accesses a free-standing window rather than a separate sheet of the Define Class dialog. For more details about entering text by using the free-standing editor window, see "Using the Free-Standing Editor Window to Define Text", later in this chapter. See also "Specifying Text for a Schema Element", later in this chapter.
The editor determines the behavior of the text editor window. Text is not automatically wrapped to fit the current window size. When you want text to start in the next line, press Ctrl+Enter. (If you want text to wrap in text and source windows, see "Maintaining Editor Options", in Chapter 2.)
-
Click the OK button. Alternatively, click the Cancel button to abandon your class selections or the Next button to define another class.
The specified class is then displayed as a subclass of the selected superclass in the Class Browser window and the descriptive text is displayed at the end of the class details in the integrated Class Browser editor pane when the class is selected in the Class List. It is also printed beneath the class name when the class is printed (by selecting the Print Selected command from the File menu) and the Text check box in the Print dialog is checked.

