Sending Messages to Other Developers
Use the Send Message command in the JADE development environment File menu to send a message to other developers who are connected to the JADE server.
To send a message
-
Select the Send Message command from the File menu.
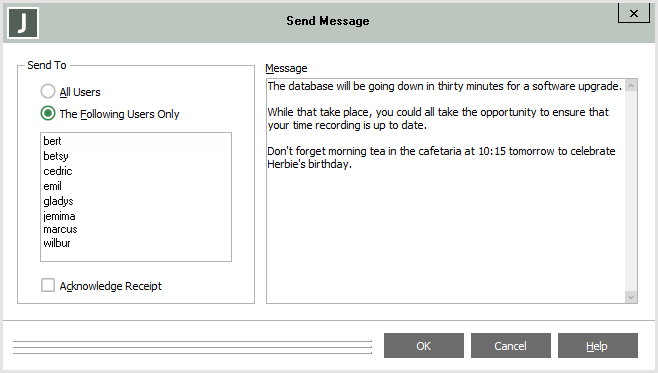
The Send Message dialog, shown in the following image, is then displayed.

The user names of all developers who are currently logged on to JADE are displayed in the list box of the Send To group box. (These user names are the values in the User Id text box on the JADE sign-on dialog.)
-
If you do not want to send the message to all users signed on to the same server, select the The Following Users Only option button. By default, messages are sent to all users.
-
If you chose to send the message only to specific users (by selecting the The Following Users Only option button in step 2 of this instruction), select the user or users to whom the message is sent from those in the Send To group box list. Use the Ctrl key to make multiple user selections, if required.
-
If you want to be advised when each recipient clicks the OK button in the Message Received dialog, check the Acknowledge Receipt check box. By default, you are not advised each time a recipient views your message.
If the Acknowledge Receipt check box on the Send Message dialog was checked, a modal message box pops up on your workstation each time a recipient clicks the OK button. This message box displays the name of the recipient who acknowledged the message you sent. Click the OK button when you have read the name of the recipient who has viewed your message.
-
In the Message text box, enter the message that you want to send to send to all developers or to your selected developers. The message text can be of an arbitrary length.
-
Click the OK button to send your message to the selected developers. Alternatively, click the Cancel button to abandon your selections.
A modal Message Received dialog then pops up on the workstation of each user to whom you addressed the message. This dialog displays the user code of the sender (to avoid anonymous messages) and the date and time that it was sent.
-
When you have viewed a received message, click the OK button to close the dialog.