Cloning the Remote Repository
When you have configured the Git team values, the Git source control client enables you to clone the remote repository to a local repository on your workstation.
To clone the remote repository
-
To clone the remote repository, select the Clone command from the Git Source Control Client submenu in the Browse menu.
-
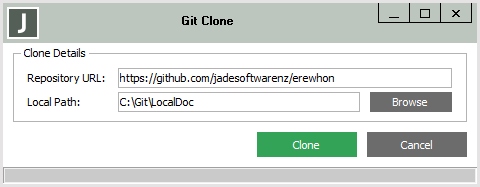
The Git Clone dialog, shown in the following image, is then displayed.

The Repository URL and Local Path text boxes are pre‑filled with the configured URL of the remote repository that was set up by your source control administrator or your team leader and the path of your working directory, respectively.
-
If you want to specify a different remote repository, in the Repository URL text box, specify the URL the remote repository that you want to clone.
-
If you want to specify a different local path in which the cloned repository is located, in the Local Path text box, specify the path or click the Browse button to locate the folder on your workstation.
-
Click the Clone button. (Alternatively, click the Cancel button to abandon your specified values.)
If the path does not exist on your workstation, an error is raised.
You can now iterate through a typical development cycle, as follows.
-
Extract files (singly, selectively, or as a schema) to your local Git folder.
-
Stage and commit your changes to your local repository.
-
Pull the changes of other people in your team down to your local repository.
-
Push your changes to the remote repository.
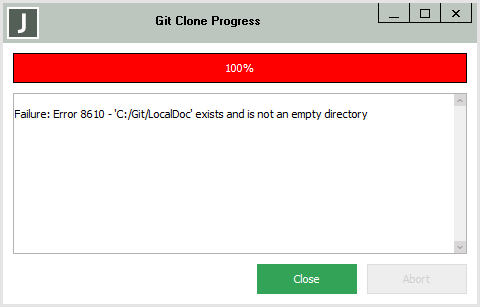
If an error is detected (for example, the specified local path already contains data), a message box like that shown in the following image is displayed.
2018.0.01 and higher

