Adding a WPF Application
The following instructions create a WPF project called BankingApp to the solution and set the application as the default one to be run for the solution (currently the BankingClasses project is the default project). Finally, the project properties are changed to build a 64-bit application.
-
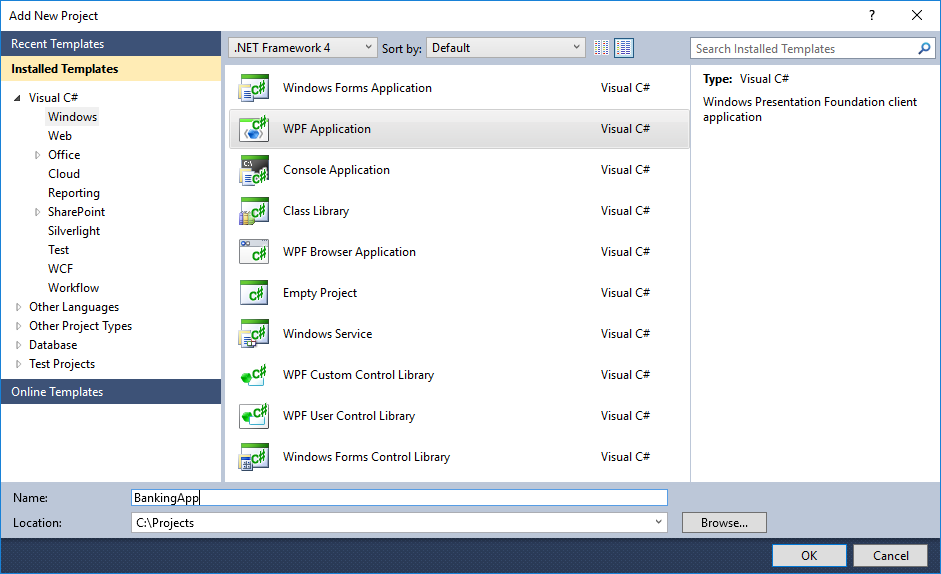
Right‑click on the BankingSystem solution and then select the New Project command from the Add submenu, to add a WPF project.
Complete the dialog, as shown in the following image.

-
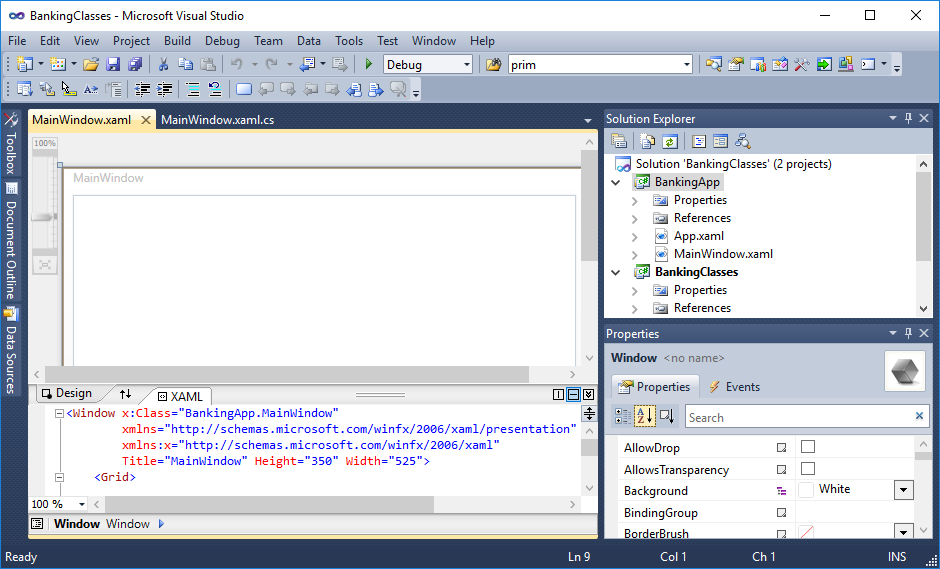
The Solution Explorer shows the BankingSystem solution with two projects: BankingApp and BankingClasses.

-
Right‑click on the BankingApp project and then select Set as Startup Project from the menu. This causes the application to be run when debugging is started.
-
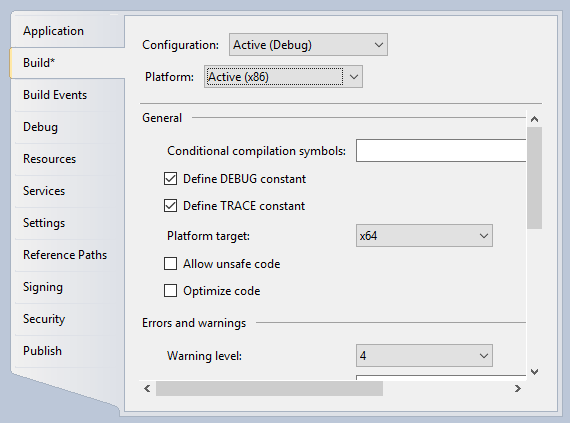
Right‑click on the BankingApp project and then select Properties from the menu. On the Build tab, change the Platform target to be x64.